How To Change Your Age On TikTok
Entering the wrong birth date on TikTok is a common mistake. Many users realize the error only after creating their account. The platform restricts direct age editing for safety reasons, but you can still fix incorrect birth details.
TikTok removed the option to manually change your age in 2021. This protects younger users from inappropriate content and prevents misuse of the platform. You’ll need to contact TikTok support and verify your identity to update your birth date.
Understanding how to change your age on TikTok saves you from losing your account. The process takes a few days but preserves your videos and followers.
How To Change Your Age On TikTok?
TikTok offers two methods to fix your birth date. Both require identity verification and take 2-5 business days. You’ll need a government-issued ID like a passport or driver’s license.
Email TikTok Support
Send an email to [email protected] explaining your situation. Include your TikTok username and mention that your birth date was entered incorrectly.
A support representative will reply to your registered email address. They’ll send instructions for submitting your ID. This method works well if you prefer written communication.
Use In-App Support (Recommended)
The in-app method is faster and more direct. Follow these steps to submit your request:
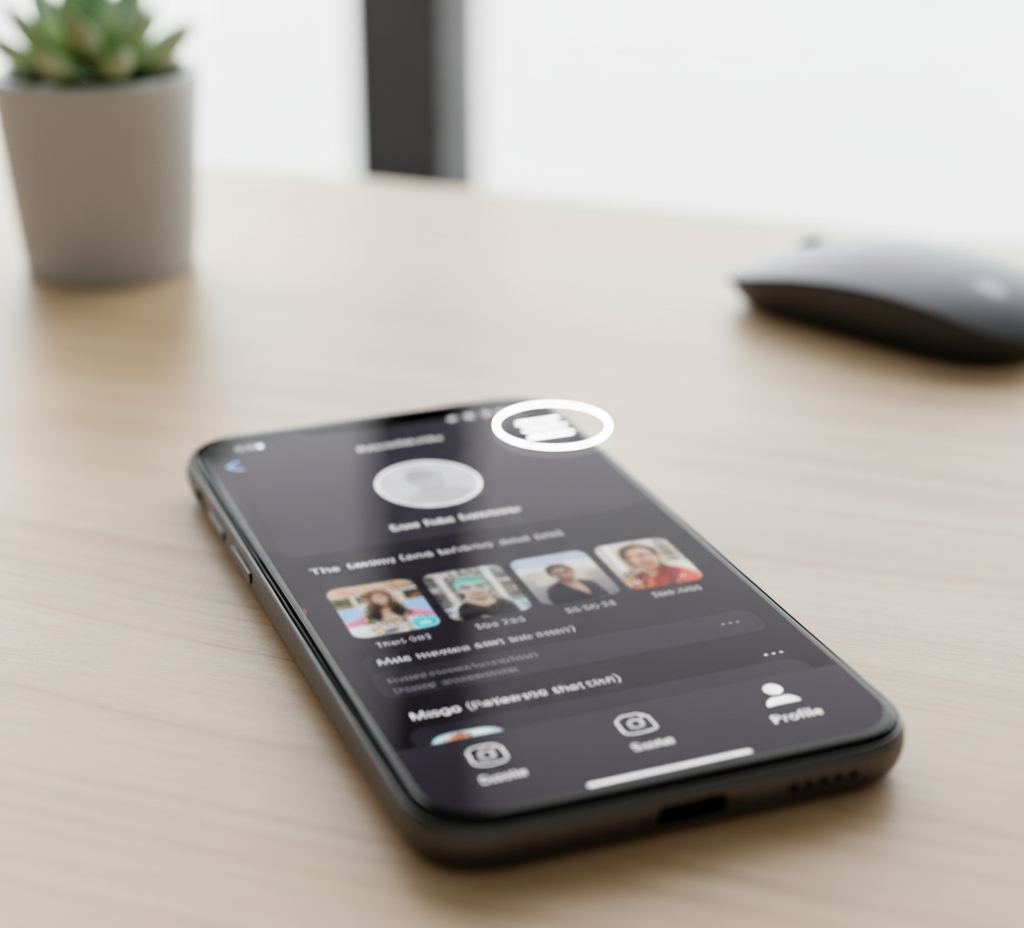
Step 1: Open TikTok
Launch the app on your phone and make sure you’re logged into your account.
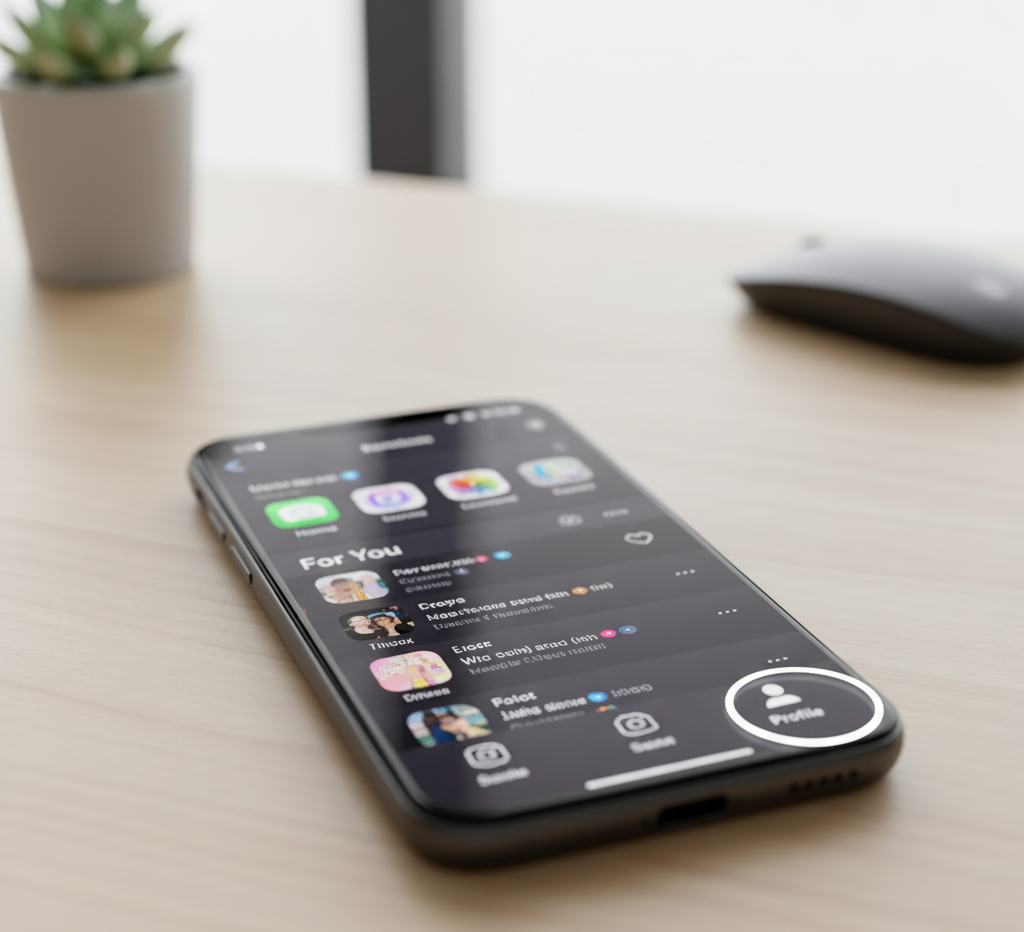
Step 2: Access Your Profile
Tap the Profile icon at the bottom right corner of your screen.
Step 3: Open Settings
Tap the three horizontal lines in the upper-right corner. This opens your settings menu.
Step 4: Find Support Options
Scroll down to the Support section in Settings and privacy.
Step 5: Report Your Issue
Select “Report a Problem” to access the help center.
Step 6: Choose Account Category
Tap “Account and profile” from the available options.
Step 7: Select Editing Profile
This narrows down your request to profile-related issues.
Step 8: Pick Other
Select “Other” since age changes aren’t listed as a standard option.
Step 9: Request Additional Help
Click “Need more help?” at the bottom of the screen. This opens a feedback form.
Step 10: Submit Your Request
Write a clear message explaining your birth date is wrong. Keep it brief and direct. Submit the form when finished.
After Submission
TikTok’s support team reviews your request within a few business days. They’ll email you with verification instructions.
You’ll need to upload a photo of your government-issued ID. The document must show your actual birth date clearly. This step prevents fake requests and protects your account security.
Check your email regularly, including spam folders. TikTok sends all updates to your registered email address. Once verified, they’ll update your birth date and confirm the change.
Don’t create a new account. You’ll lose all your content and followers. The verification process is worth the wait.
FAQs
Can I change my age directly in TikTok settings?
No. TikTok removed direct age editing in 2021. You must contact support and verify your identity with a government-issued ID to change your birth date.
How long does the age change process take?
The process typically takes 2-5 business days. TikTok support reviews your request and responds via email with verification instructions. Response times vary based on volume.
What ID does TikTok accept for age verification?
TikTok accepts government-issued IDs including passports, driver’s licenses, and national ID cards. The document must clearly display your birth date and match your request.
Will I lose my TikTok videos if I change my age?
No. Changing your age through official support channels preserves your account, videos, and followers. Never create a new account to fix age issues.
What happens if TikTok rejects my age change request?
TikTok may reject requests if your ID doesn’t match the information provided or appears invalid. You can resubmit with correct documentation or contact support again.